When I was dreaming of the alley project and an alley lined by edible vertical gardens, fruit trees were an integral part of that vision. I’d always thought espaliered trees were very cool but had been a bit intimidated. Sometimes you just have to jump in with both feet – and a pair of clippers.
But before I could get to work on training trees, I needed something to train them on. A couple articles ago we showed how to do an easy garden trellis that was mounted on a fence or building. For a visual and architectural interest I wanted some variety in our trellises, plus for the trees it’s recommended to have at least 9˝ of space between the trellis and a building for good air flow. Hence this easy plan for a free standing garden trellis was hatched.
Free Standing Garden Trellis
• 3 – 4˝x4˝x8’ treated posts
• 2 bags of concrete
• 1 – 16’ x 50˝ sheet of hog wire
• 18 – 1/4˝ coax clamps
• 2 trees for espaliering
• Level
• Posthole digger
• Sawzall
• Cordless drill
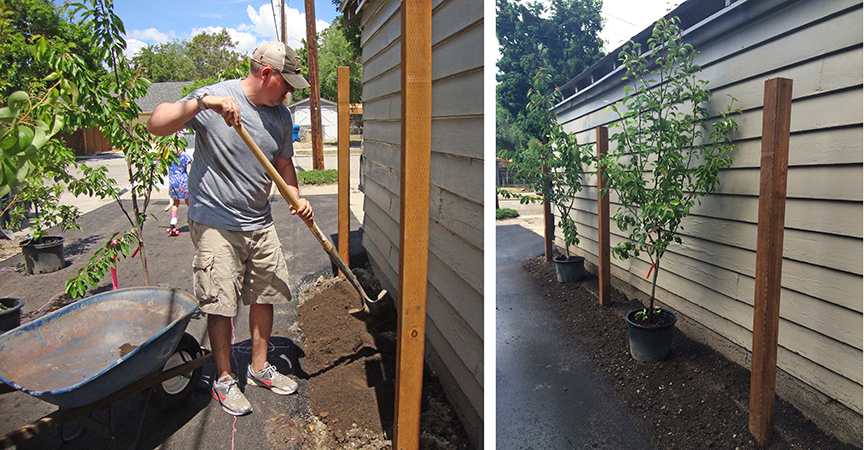
On day one, measure out the space, positioning the center of the two outer posts so they are 16’ apart from each other. Place a third post in the center. We found that using chalk and drawing on the newly paved alley was a good way to measure and mark where the posts and plants would go.  Dig the holes so that approximately 18-24˝ of each post is in the ground. Mix the concrete and set the posts, making sure to check that they are plumb from all sides.
Above neighbor Jeremy Bronner jumps in to help on the project.
I know you might want to get this project done lickity split (at least I always do), but my husband reminds me that I’ll be much happier with the outcome if I can be patient and let the concrete set over night.
In the meantime, this is alley soil we’re working with, so this was my opportunity to double dig in some nice potting mix from FarWest Landscape Garden Center so that the new trees could get off to a good start.
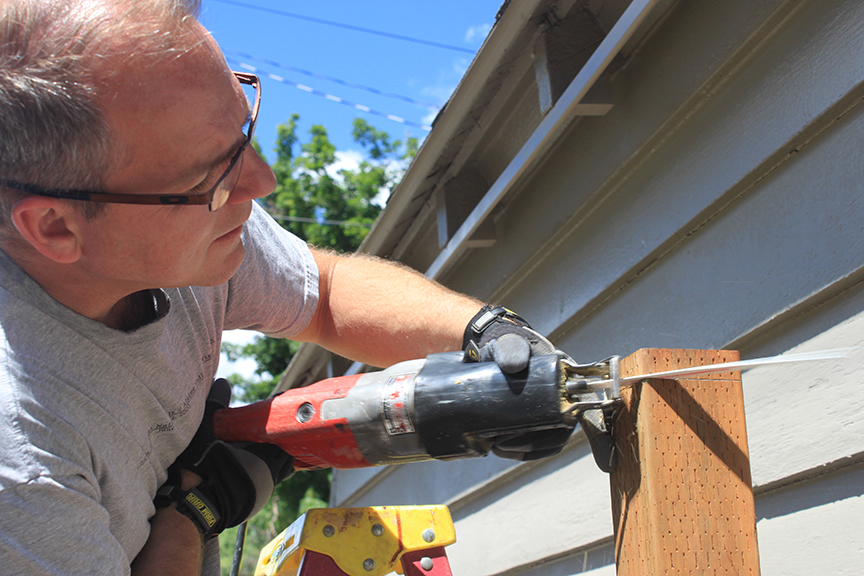
The next day my husband measured and used a sawzall to cut all the posts so the tops were level with each other.
 We then used 1/4˝ coax clamps to attach the wire to the posts.
 Now the fun (and kinda scary part) – planting the trees and espaliering them.
There’s various types of espalier, but for this space I chose to do the fan style because both of these trees are 4 in 1’s, meaning there’s 4 varieties of the fruit on one tree – so a traditional multitier cordon wasn’t going to work.
They key is to find the dominant branches and tie them out in the shape you want BEFORE cutting any branches. It’s surprising how limber these young branches are and how they can be coerced into position. I used stretch plant tie tape but old tights would work great too. Tie a couple branches and then stand back and look. Then maybe tie a couple more or reposition those that you’ve already tied. Heck… grab a glass of wine and really get contemplative. It’s a process not to be rushed. Once you have established the foundation, trim off all the other branches. I know it’s hard, and counterintuitive, but you can do it.
And this is easier than what I”m going to ask you to do next. Take all the fruit off your tree this first year. So yes, this means even if it came with fruit on it, remove it. You want all the plant’s energy going into establishing good roots so there’ll be plenty of fruit next year… and hopefully for many years to come.


