I first met Andrew Wilder of Eating Rules at Camp Blogaway in May and then saw him again in July at the Orlando Food & Wine Conference. Here I got to spend more time with him and found out about his October Unprocessed campaign – a month dedicated to reducing or eliminating processed food in your diet. It’s not a hard mandate of “thou shall not eat anything processed”. It’s more about recognizing where you are now and then setting an intention for realistic steps that you might take to reduce your consumption of processed foods. Check out the Official Guide to October Unprocessed to find out the details and take the pledge.
This got me thinking about my own eating habits (which is the point, right?). I’d say we do pretty good – spend the bulk of our shopping time in the perimeter of the store and cook the majority of our meals at home – but we’re definitely no strangers to crackers and chips. With more scrutiny, and a little bit of astonishment, I realized that the single most processed thing I consume is the almond milk that goes in my coffee every single morning. Let’s just say it’s full of a lot more than just almonds and water and would never pass the kitchen test.
Luckily it seems like my social media feed has been filled with DIY Almond Milk recipes lately. Maybe it was a sign.
DIY Almond Milk
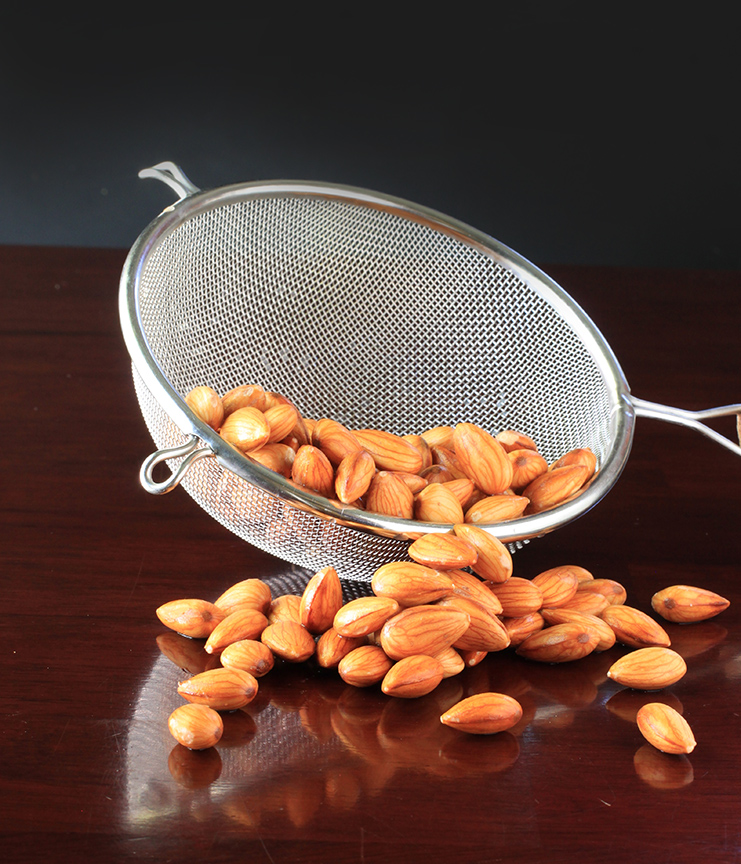
 It’s really just this simple. Almonds and water. Let sit.
Drain and discard the soaking liquid. Place your almonds, all bloated now, in the blender with some fresh water, a pinch of salt and give it a whirl.
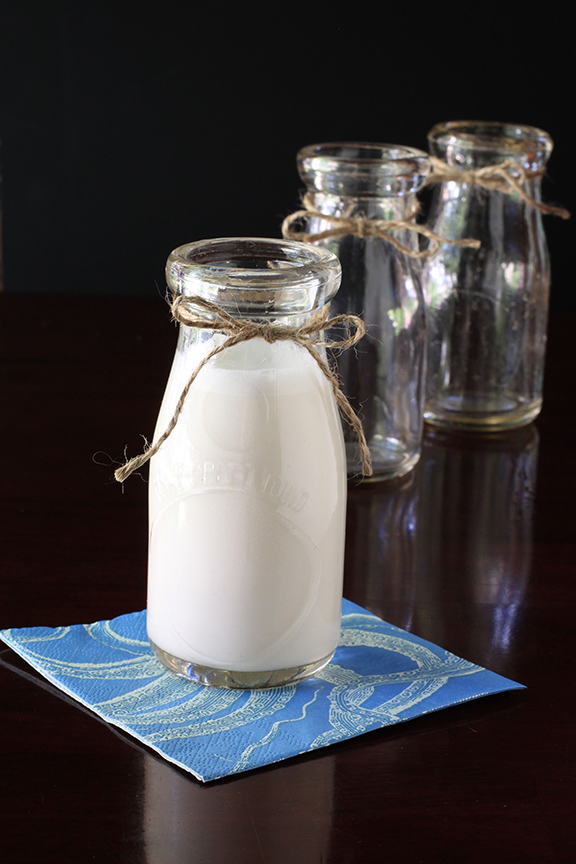
Strain and violá! Almond milk. It’s just that easy.
{Update: When I first wrote this post, I used cheesecloth to strain the almond milk and then threw the cheesecloth away. In my effort to reduce the amount of waste I create, I found this great set of 3 organic cotton bags in various sizes. Easy to use, rinse and reuse again and again!}
It definitely has a different taste (more almond-y?) and texture than the purchased variety but I think it wouldn’t take long to get used to the home made version. My guess after that it would make it hard to go back to the processed. Of course, why would you want to?
- 1 cup raw almonds, preferably organic
- 2 cups water, plus more for soaking
- Sweeteners like honey, sugar, agave syrup, or maple syrup, to taste, optional
- Place the almonds in a jar, cover with about an inch of water and put the lid on. The almonds will plump as they absorb water. Let stand on the counter for up to 2 days. The longer the almonds soak, the creamier the almond milk.
- Drain the almonds from their soaking water and rinse them thoroughly under cool running water. At this point, the almonds should feel a little squishy.
- Place the almonds in the blender with a pinch of salt and cover with 2 cups of fresh water.
- Pulse the blender a few times to break up the almonds, then blend continuously for two minutes or until creamy. The almonds should be broken down into a very fine meal and the water should be white and opaque. (If using a food processor, process for 4 minutes total, pausing to scrape down the sides halfway through.)
- Line the strainer with cheese cloth and strain the almond milk into a clean jar making sure to press all the almond milk from the almond meal. You should get about 2 cups. (See Recipe Note for what to do with the leftover almond meal.)
- Taste the almond milk and add sweetener to taste if desired.
- Store the almond milk in sealed containers in the fridge for up to two days.
- Using the leftover almond meal: The leftover almond meal can be added to oatmeal, smoothies, and muffins as it is. You can also spread it out on a baking sheet and bake it in a low oven until completely dry (2 to 3 hours). Dry almond meal can be kept frozen for several months and used in baked goods.
It’s been wonderful to meet you and get to know you too, Linda! And isn’t homemade almond milk the most amazing thing ever? The only hard part is not drinking it all at once! 🙂
For sure! Thanks Andrew for the comment. I hope our paths cross again soon!